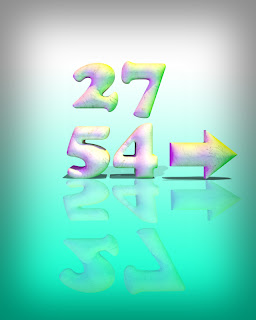
This is what we had produced in our trial.

We had to create a text, that will have the effect to be turned into a 3-dimensional eye popping image.
The function can be found at the top of the task bar, 3D > Repousse > Text Layer
Later, we learned how to create a shadow that would fall behind the text. This would be done rendering the texts. This can be found in the "3D window bar", then by ticking the "Ground Plane Shadow Catcher".
Then we go into the 3D (Scene) which has the function for the "Render Settings", then into quality where we change it to "Ray Traced Final".
For the Blurred out border seen in the image. First we make a, New layer > Edit > Stroke. Then we pick a colour for the border and select center. Then to blur, we go into Effect > Blur > Gaussian Blur.
No comments:
Post a Comment